Cast iron cookware is one of the safest, most durable cooking surfaces you can own. No synthetic coatings to scratch off. No PTFE to overheat. No ceramic that degrades over time. A good cast iron pan, properly maintained, will outlast you. For a full walkthrough, see our non-toxic kitchen guide.
But “properly maintained” is where people get tripped up. Seasoning cast iron isn’t complicated, but there’s a lot of conflicting advice out there. Some of it works. Some of it doesn’t. And some of the products marketed for cast iron care contain ingredients that defeat the purpose of cooking on a non-toxic surface. For specific product picks, check best non-toxic baby bottles.
According to NonToxicLab, cast iron is one of the few cookware materials where proper maintenance is the entire safety story. There’s no coating to worry about. Just iron and oil. We tested and ranked the options in best non-toxic bakeware.
This guide covers everything you need to know about seasoning and maintaining cast iron using methods and materials that keep your cookware genuinely non-toxic. We tested and ranked the options in best non-toxic cookware sets and pieces.
What Seasoning Actually Is
Seasoning isn’t a coating you buy and apply. It’s a layer of polymerized oil that bonds to the iron at a molecular level. When you heat an oil past its smoke point on cast iron, the fatty acid chains break apart and recombine into a hard, slick polymer that fills the microscopic pores and peaks in the iron surface.
This polymer layer does three things:
- Creates a non-stick surface. A well-seasoned cast iron pan rivals any nonstick coating for eggs and delicate foods, without any of the chemical concerns of PTFE or ceramic coatings.
- Prevents rust. Bare iron oxidizes immediately in the presence of moisture. The seasoning creates a barrier between the iron and water.
- Improves with use. Every time you cook with oil in your cast iron, you’re adding thin layers of polymerized oil to the existing seasoning. A pan that has been used daily for years develops a smooth, black, virtually non-stick surface that no amount of initial seasoning can replicate.
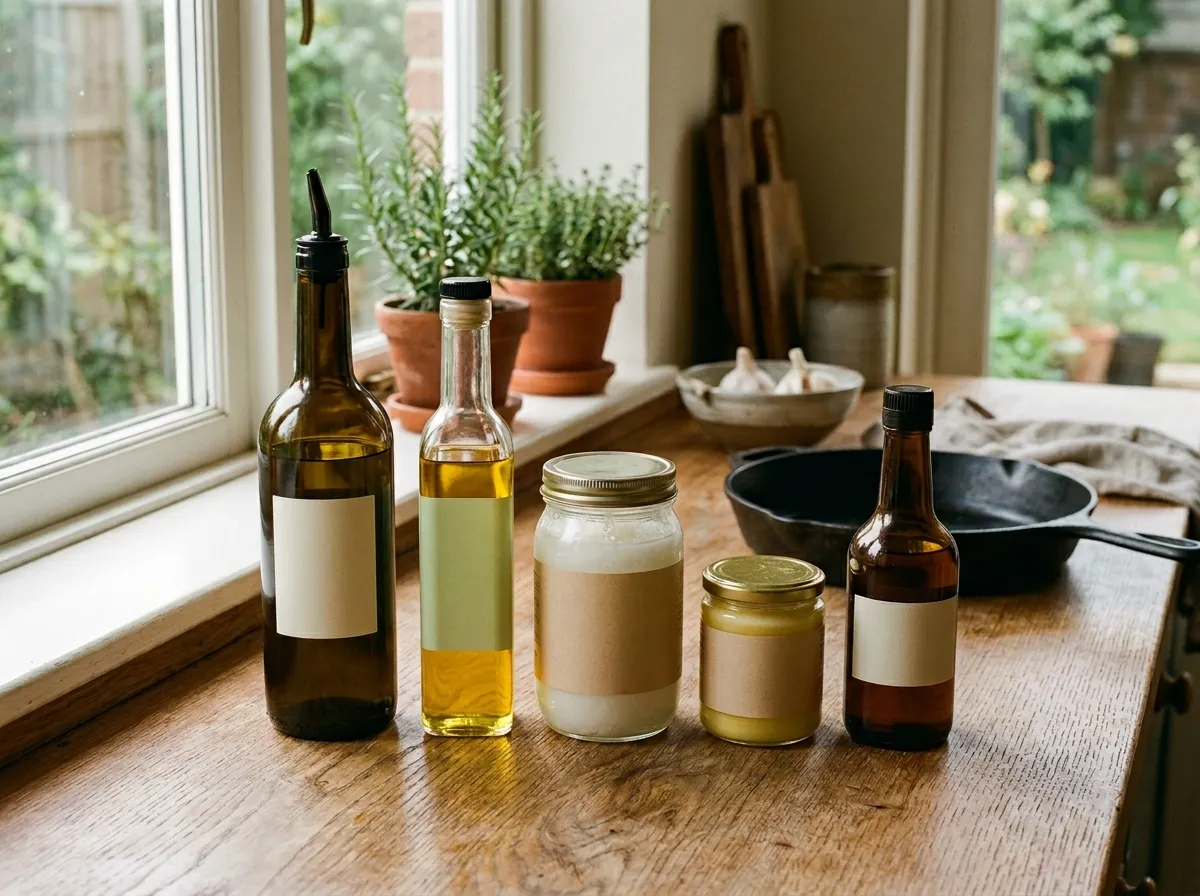
Choosing the Right Oil
Not all oils season equally well. The best seasoning oils share two characteristics: a relatively high smoke point and a high proportion of unsaturated fats (which polymerize more readily).
Top Picks for Seasoning
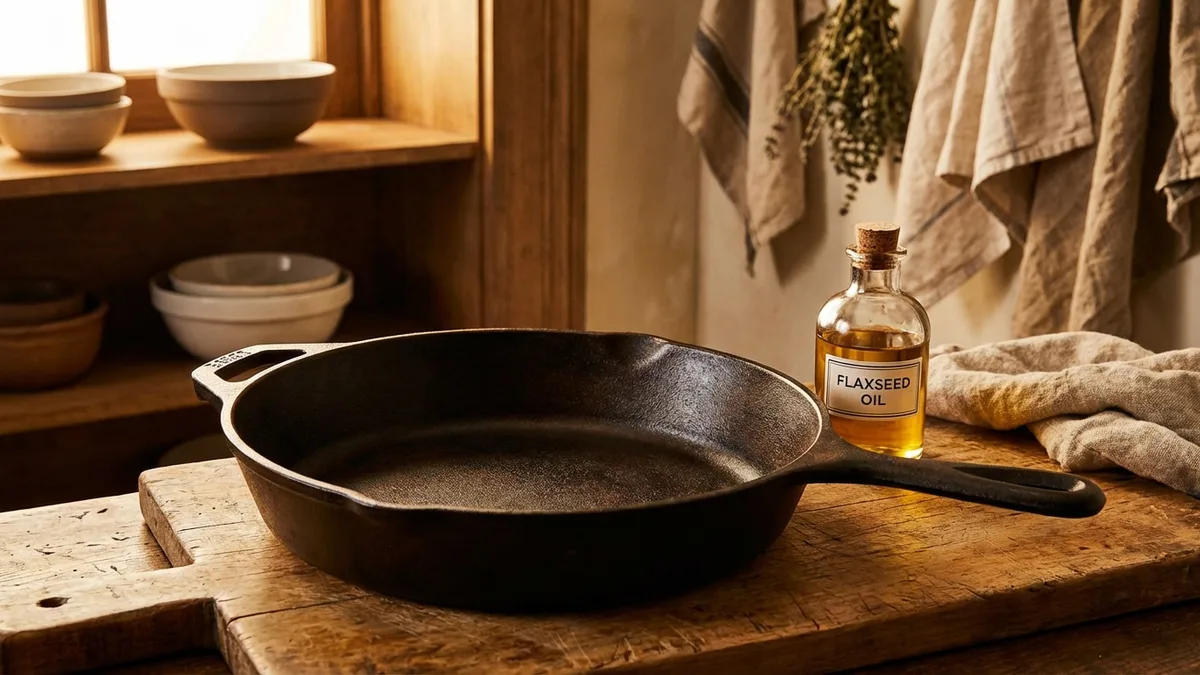
Flaxseed oil produces the hardest seasoning layer of any commonly available oil. It’s high in alpha-linolenic acid (an omega-3 fatty acid), which polymerizes into an exceptionally durable film. The downside: it can be finicky. If applied too thickly or heated at the wrong temperature, flaxseed oil seasoning can become brittle and flake off. Use very thin layers and follow the temperature guidance below.
Grapeseed oil is a practical all-around choice. It has a high smoke point (420F), a good unsaturated fat profile, and it produces a durable seasoning that’s more forgiving than flaxseed. This is what I recommend for most people.
Canola oil (organic, expeller-pressed) works well and is affordable. The smoke point is around 400F, and the polymerization results are solid. If you’re using canola, choose an organic, expeller-pressed version to avoid the chemical solvents used in conventional canola processing.
Avocado oil has the highest smoke point of common cooking oils (520F) and produces good seasoning. It’s more expensive, but if you already have it in your kitchen, it works.
Oils to Avoid for Seasoning
Butter and animal fats can be used for daily cooking in cast iron, but they’re not ideal for the initial oven seasoning because they contain milk solids (butter) or proteins (animal fats) that can become rancid rather than properly polymerizing. Lard and tallow were traditionally used and work reasonably well, but plant-based oils produce more consistent results.
Olive oil has a relatively low smoke point (325-375F depending on grade) and doesn’t polymerize as well as the oils listed above. You can cook with olive oil in cast iron daily, but it’s not the best choice for the oven seasoning process.
Coconut oil is popular in non-toxic circles, but its high saturated fat content means it doesn’t polymerize as effectively as unsaturated oils. The seasoning it produces is softer and less durable. Fine for cooking, not ideal for building seasoning.
A Note on Commercial Cast Iron Seasoning Products
Several companies sell pre-mixed cast iron seasoning products (waxes, sprays, pastes). Some of these contain added ingredients that you don’t need and may not want on your cooking surface. Beeswax is common (fine for exterior protection but doesn’t polymerize on the cooking surface). Some contain synthetic additives. A bottle of grapeseed or flaxseed oil is cheaper, simpler, and gives you complete control over what touches your food surface.
How to Season a New Cast Iron Pan
New cast iron from most brands (Lodge, Victoria, Camp Chef) comes with a factory pre-seasoning. This is a good starting point, but it’s typically a single thin layer. Building additional seasoning layers before first use gives you a better cooking surface.
Step-by-Step: Initial Oven Seasoning
What you need: Your cast iron pan, your chosen oil, paper towels or a lint-free cloth, aluminum foil or a baking sheet.
Step 1: Wash the pan. For a brand-new pan, wash with warm water and a small amount of dish soap. This is the one time soap is appropriate on cast iron. Rinse and dry completely. Put the pan on a burner on low heat for 2-3 minutes to evaporate every trace of water.
Step 2: Apply a very thin layer of oil. Pour a small amount of oil (about half a teaspoon) onto a paper towel and rub it over the entire pan: cooking surface, sides, bottom, and handle. Then take a clean, dry paper towel and wipe off as much oil as you can. The pan should look almost dry. This is the most important step. Too much oil results in a sticky, uneven seasoning.
Step 3: Preheat the oven. Set your oven to 450-500F (depending on your oil’s smoke point; you want to be about 25-50 degrees above the smoke point).
Step 4: Place the pan upside down in the oven. Put a sheet of aluminum foil or a baking sheet on the rack below to catch any drips. Upside down placement ensures that any excess oil drips off rather than pooling.
Step 5: Bake for one hour. The oil will smoke. This is normal and expected. It means polymerization is happening. Ventilate your kitchen by running the range hood or opening windows.
Step 6: Cool in the oven. Turn off the oven and leave the pan inside until it’s cool enough to handle. This slow cooling prevents thermal shock.
Step 7: Repeat 2-3 times. For a new pan, doing 3-4 rounds of oven seasoning builds a solid foundation. Each round adds another thin layer of polymerized oil.
After these initial rounds, the pan is ready to use. Daily cooking will continue to build the seasoning over time.
How to Re-Season a Stripped or Neglected Pan
If you’ve inherited a rusty cast iron pan, bought one at a thrift store, or accidentally stripped the seasoning from your own pan, you can restore it.
Removing Rust and Old Seasoning
For light rust: Scrub with a paste of coarse salt and oil. The salt acts as an abrasive. Rinse and dry immediately.
For heavy rust: Soak the pan in a 50/50 mixture of white vinegar and water for 1-4 hours. Check frequently. Vinegar will remove rust, but it will also eat into the iron if left too long. Once the rust is gone, scrub with steel wool, rinse thoroughly, and dry immediately on a hot burner.
For a full strip to bare iron: Use the self-cleaning cycle of your oven (which reaches 800-900F and incinerates all seasoning) or use an electrolysis tank if you’re serious about cast iron restoration. After stripping, the pan will be completely gray and bare. Proceed immediately to the oven seasoning steps above.
Then Re-Season
Follow the same oven seasoning process described above. A fully stripped pan benefits from 4-6 rounds of seasoning before first use, since there’s no existing base layer to build on.
Daily Cast Iron Care
The daily care routine for cast iron is simpler than most people think.
After Cooking
While the pan is still warm (not scorching hot, but warm), rinse it under hot water. Use a stiff brush, chain mail scrubber, or a pan scraper to remove stuck-on food. For stubborn bits, pour coarse salt into the pan and scrub with a paper towel or cloth. The salt acts as a gentle abrasive.
Dry the pan immediately and completely. Water left on cast iron starts rust within minutes. The fastest method: put the clean pan back on a burner on low heat for 2-3 minutes until all moisture has evaporated.
Apply a thin wipe of oil. While the pan is still warm from the burner, rub a very thin layer of your seasoning oil over the cooking surface with a paper towel. This maintains the seasoning between uses. The pan should not feel oily when you’re done. If it feels greasy, you’ve used too much.
The Soap Question
Traditional advice says never use soap on cast iron. This was more relevant when soaps contained lye, which actually does strip seasoning. Modern dish soaps are mild detergents that won’t damage a well-established seasoning layer. A small amount of dish soap for a quick wash is fine. Just don’t soak the pan, don’t use harsh abrasives, and dry it immediately.
That said, most of the time, hot water and a brush are all you need.
What Not to Do
Don’t soak cast iron. Extended contact with water causes rust.
Don’t put it in the dishwasher. The prolonged water exposure and harsh detergent will strip seasoning and cause rust.
Don’t use glass-top stove cleaners or chemical degreasers. These contain solvents that can strip your seasoning.
Don’t cook highly acidic foods for long periods in a newly seasoned pan. Tomato sauce, wine reductions, and citrus-heavy dishes can break down young seasoning. Once your pan has been well-seasoned through months of use, it can handle acidic foods for short to medium cooking times.
Troubleshooting Common Problems
Sticky Seasoning
Cause: Too much oil was applied during seasoning. The oil didn’t fully polymerize and remains as a tacky, semi-cured layer.
Fix: Place the pan in the oven at 450-500F for an hour to finish polymerizing the tacky oil. If that doesn’t work, strip the affected area with steel wool and re-season with thinner layers.
Flaking Seasoning
Cause: Usually happens with flaxseed oil seasoning that was applied too thickly or heated at the wrong temperature. The polymerized layer is hard but brittle and delaminating from the iron.
Fix: Strip the flaking area with a chain mail scrubber or steel wool and re-season. Consider switching to grapeseed oil, which produces a more flexible polymer layer.
Rust Spots
Cause: Water was left on the surface, or the pan was stored in a humid environment without adequate seasoning protection.
Fix: Scrub the rust with steel wool or a salt scrub. Dry immediately. Apply 1-2 rounds of oven seasoning to the affected area. Store the pan in a dry place with a thin oil coating.
Food Sticking
Cause: The pan isn’t hot enough before adding food, or the seasoning isn’t built up enough yet.
Fix: Preheat the pan for 3-5 minutes before adding oil and food. Make sure you’re using enough cooking fat. For a newer pan, cook fatty foods (bacon, sausage, pan-fried potatoes in oil) for the first few weeks to build seasoning faster. Avoid lean proteins and eggs until the seasoning is well-established.
Metallic Taste
Cause: Cooking acidic foods in a pan with thin seasoning. The acid breaks through the seasoning and reacts with the iron.
Fix: Avoid acidic dishes until your seasoning is more developed. If the taste persists, re-season with 2-3 oven rounds. A well-seasoned pan that has been used for months will handle moderate acidity without issue.
Cast Iron and Iron Intake
Cooking in cast iron does add dietary iron to your food, particularly when cooking acidic foods. For most people, this is a nutritional benefit. Iron deficiency is common, and the small amount of iron that leaches into food from cast iron cookware is in a bioavailable form.
However, people with hemochromatosis (iron overload disorder) should avoid cooking in cast iron, as the additional iron intake can be harmful. If you have this condition, stainless steel is a better choice. See our best non-toxic cookware guide for alternatives.
Questions We Hear Most
Can I use cast iron on a glass-top stove?
Yes, but with care. Cast iron is heavy and can scratch glass cooktops if dragged. Always lift the pan rather than sliding it. Also avoid dropping it, as cast iron can crack glass. Some glass-top stove manufacturers advise against cast iron entirely, so check your stove’s manual. If you do use cast iron on glass, the cooking performance is excellent because the flat bottom makes good contact with the heating element.
How long does it take to build good seasoning?
The initial oven seasoning (3-4 rounds) takes a few hours of passive time. After that, daily cooking builds seasoning incrementally. Most people notice their pan becoming noticeably more non-stick after 2-4 weeks of regular use. A pan used daily for 6 months will have a smooth, black surface that’s genuinely non-stick for most foods. A pan used for years will be remarkable.
Is cast iron safe for all cooking?
Cast iron is safe for almost everything. The exceptions: don’t cook or store highly acidic foods (tomato sauce, lemon-heavy dishes) for extended periods in cast iron, especially if the seasoning is young. The acid can react with the iron, producing off-flavors and degrading the seasoning. For a quick deglaze with wine or a few minutes of tomato sauce, a well-seasoned pan handles it fine.
What about enameled cast iron?
Enameled cast iron (like Le Creuset or Staub) has a glass-based enamel coating that doesn’t require seasoning and doesn’t react with acidic foods. It’s an excellent non-toxic cooking surface. The trade-off is that you lose the natural non-stick properties that develop from seasoning, and the enamel can chip or crack over time. Both bare and enameled cast iron are safe choices; they’re just different tools.
Do I need to season the outside of the pan?
Yes, for rust prevention. The outside doesn’t need as much seasoning as the cooking surface, but a thin oil coating on the bottom and sides protects against rust, especially if you store the pan in a kitchen with any humidity. During oven seasoning, coat the entire pan.
You Might Also Like
Sources
- Lodge Manufacturing, Cast Iron Care and Seasoning Guide
- Cook’s Illustrated, “The Ultimate Way to Season Cast Iron,” Testing and Analysis
- Sheryl Canter, “Chemistry of Cast Iron Seasoning: A Science-Based How-To,” Research Article
- Journal of the American Dietetic Association, “Iron Content of Food Cooked in Iron Utensils”
- America’s Test Kitchen, Cast Iron Cleaning and Maintenance Testing
- National Institutes of Health, “Iron Fact Sheet for Health Professionals,” Hemochromatosis Guidance